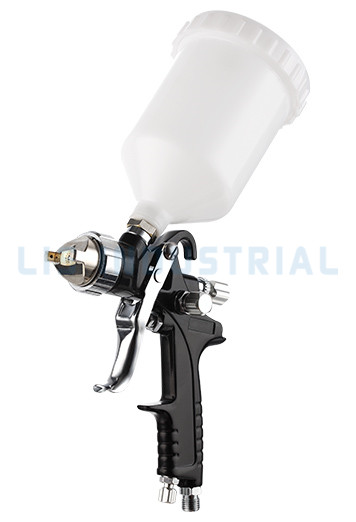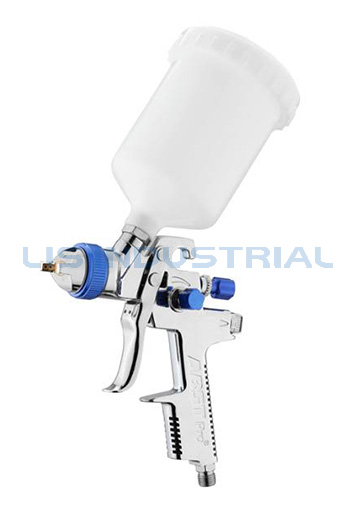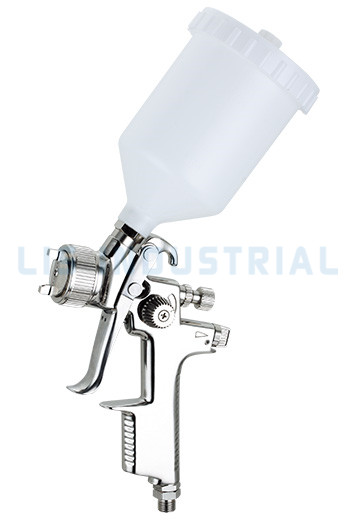
 Aramak
Your spray gun spits, the film sags, and the surface comes out with the telltale orange-peel texture. Most users blame the gun. In practice, the fault is usually setup: wrong air pressure, too much fluid, or a fan width that was never dialed in. Every air spray gun has three adjustments, and they interact in a predictable sequence. This guide walks through the setup routine we use at LIS during 100% factory function testing, in the order our technicians actually do it.
Allow about ten minutes for the full routine once the gun is clean and the paint is mixed to the correct viscosity. If you skip the order described below, you will keep chasing the same defects.
Know Your Gun Type Before You Touch a Knob
Spray guns are not universal in their air requirements. HVLP (high volume, low pressure) guns, LVLP (low volume, low pressure) guns, and conventional guns each have a designed pressure window. Feed a gun outside that window, and the spray pattern will be coarse, dry, or unbalanced no matter how carefully you set the fluid knob.
The gun class is usually marked on the body or on the air cap. When in doubt, check the part number on the nozzle set or look for an HVLP stamping on the cap. The table below summarizes typical ranges for the three common classes.
| Typical inlet pressure ranges by spray gun class. | |||
| Gun class | Inlet pressure | Typical transfer efficiency | Best suited for |
| HVLP | 20-29 psi (1.4-2.0 bar) | 65% or higher | Automotive refinish, wood finishing |
| LVLP | 10-25 psi (0.7-1.7 bar) | 60% or higher | Touch-up work, small parts, smaller compressors |
| Conventional | 30-50 psi (2.1-3.4 bar) | 30-45% | Production lines, high-solids coatings |
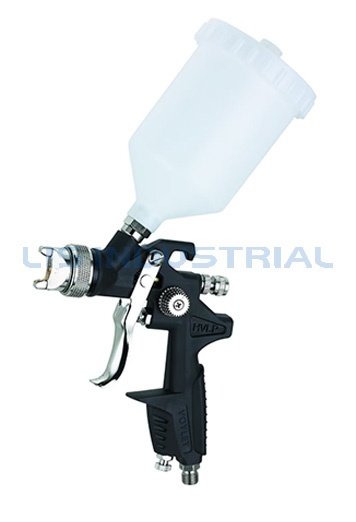
If you work with an HVLP spray gun , keep its 20-29 psi window in mind as a starting point rather than a rule; heavy-bodied materials such as epoxy primers may need a slightly higher setting.
The Three Adjustments That Control Your Finish
Every conventional air spray gun uses the same three user adjustments. Understanding what each one does - and how it affects the other two - makes setting up any new spray gun a repeatable procedure.
1. Inlet Air Pressure
Inlet pressure is the air pressure at the gun inlet while the trigger is fully pulled, not the static reading on an air regulator. A hose can drop pressure by 2-5 psi depending on its length and internal diameter, so mount a gauge close to the gun whenever possible. Always read the gauge with the trigger pulled, because the number falls the moment air starts flowing.
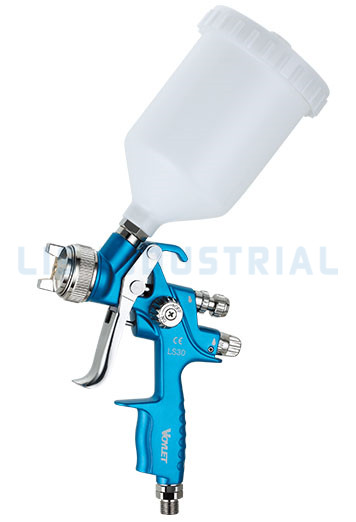
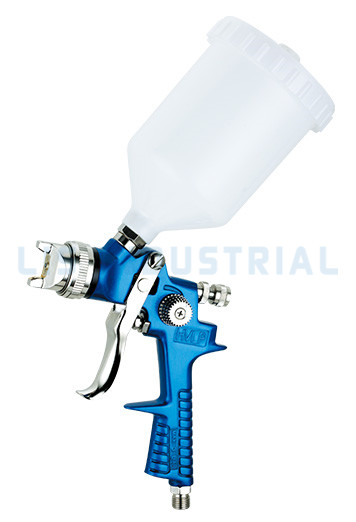
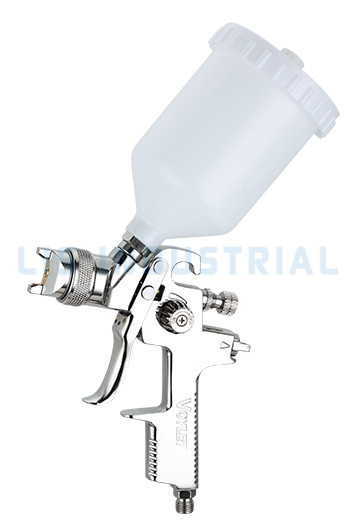
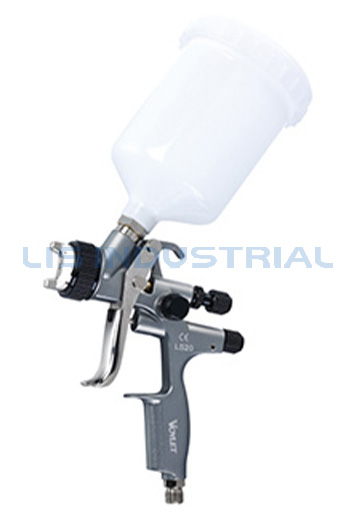 Lis LS20 HVLP Spray Gun with 1.3mm and 1.7mm Nozzles This full-size HVLP spray gun from Lis offers 600ml cup capacity and optional 1.3mm or 1.7mm nozzles. It suits the article's focus on inlet pressure setup, since its fluid adjustment screw helps fine-tune thin-to-medium paints. View Product →
 2. Fluid Flow
The fluid adjustment screw limits how far the fluid needle retracts when you pull the trigger. Start with the screw fully closed, then open it about one full turn as a baseline - this suits most thin-to-medium paints. If the pattern looks starved or sputters, open the screw a quarter turn at a time, never more.
3. Fan Pattern Control
The fan control sets the width of the spray pattern by redirecting airflow through the air cap horns. Set it to about 60-70% of maximum for large panels, then narrow it for edges, stripes, or touch-up work. Remember that narrowing the fan concentrates the same paint flow into a smaller area, which can cause runs if you do not reduce the fluid flow slightly.
The Ten-Minute Setup Sequence
This is the order our technicians use on the test floor. Changing the order can hide the effect of an earlier mistake and costs more time in the long run.
- Prepare the gun. Install the correct fluid nozzle and needle set for the material you are spraying, and confirm the air cap is clean. A dirty air cap is the most common cause of uneven atomization.
- Set the air pressure. Open the air valve fully, pull the trigger to release air, and adjust the regulator to the recommended inlet pressure for your gun class. Keep the trigger pulled while reading the gauge.
- Close the fluid knob completely, then open it one turn. This creates a starting point that works for most solvent-based and waterborne materials.
- Set the fan pattern. Start at 60-70% of the maximum fan width, then adjust after you see the test spray.
- Load the cup and test spray. Point the gun at a piece of cardboard held vertically. Check that the pattern is symmetrical, the droplets look fine, and the fan edges are distinct rather than ragged.
- Fine-tune one control at a time. If atomization looks coarse, raise the pressure in 2 psi increments. If the pattern shows runs, close the fluid knob a quarter turn. Never adjust pressure and fluid at the same time, or you will not know which change fixed the problem.
- Fluid adjustment knob - paint volume
- Fan pattern control - spray width
- Gravity feed cup - holds paint
- Trigger - air and fluid release
- Air cap - atomizes the coating
- Air inlet - connects to compressor
Hold the gun perpendicular to the surface and keep your wrist steady. If you are new to spraying, review the basics of how to hold and operate a paint spray gun before your first test pass.
First-time buyers often prefer a kit that includes several nozzle sets, so they can experiment with different materials without ordering spares separately.
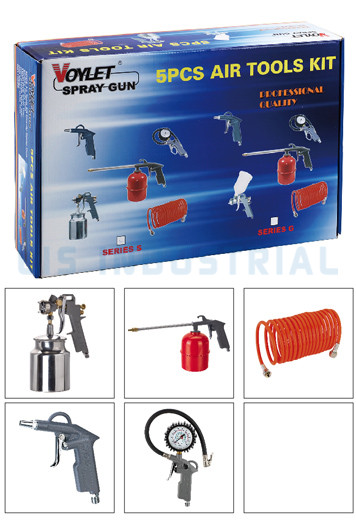 Lis AK1 Spray Gun Kit with Multiple Nozzle Sets Ideal for first-time buyers, this kit includes several nozzle sets that allow experimenting with different paint materials. Its versatile configuration matches the article's discussion of test passes and correcting spray defects before moving to final parts. View Product →
 Reading Spray Pattern Defects
The test pass on cardboard tells you instantly what is wrong. Use this reference table to correct defects before you move to the real part.
| Common spray pattern defects and the adjustments that fix them. | |||
| Defect | What you see | Typical cause | Fix |
| Orange peel | Dimpled, rough texture like citrus rind | Pressure too low, paint too thick, or gun too close | Raise pressure 2-3 psi, thin paint slightly, or move gun back to 6-8 inches (15-20 cm) |
| Runs and sags | Paint drips on vertical surfaces | Too much fluid, overlapping passes, or gun held too close | Close the fluid knob a quarter turn, increase gun speed, respect flash times |
| Dry spray | Flat, dusty, rough film | Pressure too high or gun too far from the surface | Lower the pressure and move the gun closer |
| Spitting | Paint splatters in irregular globs | Loose fluid nozzle, dirty air cap, low cup level, or air in the fluid line | Clean and seat the nozzle, refill the cup, and re-check the connections |
| Hourglass pattern | Fan narrows in the middle like a bow tie | Inlet air pressure too low for the fluid volume | Increase pressure or reduce fluid flow slightly |
If the pattern stays lopsided after the air cap is thoroughly cleaned, the gun may have suffered impact damage and needs service before it can be set up reliably.
Choosing a Gun That Makes Setup Repeatable
A gun that needs re-tuning every few minutes is not a tool, it is a distraction. Look for a smooth-feeling adjustment mechanism, a solid air cap seal, and a needle assembly you can strip and clean in under a minute. Those details make the difference between a quick setup and a constant fight with your equipment.
For small panels, blend panels, and fine detail work, a compact touch-up gun delivers the same adjustment range with less paint in the cup, which reduces waste during setup. The routine stays identical: pressure first, fluid second, fan third.
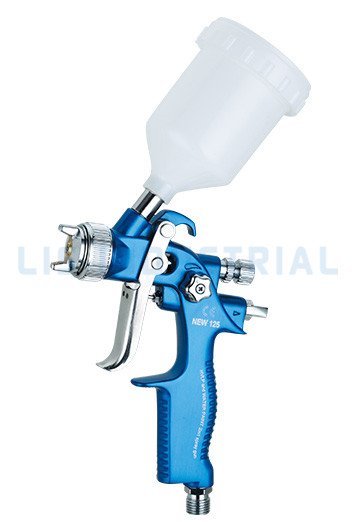
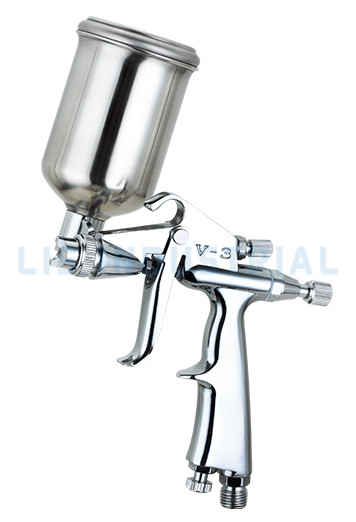 Lis V-3 Mini Touch-Up Spray Gun with 0.5mm and 0.8mm Nozzles This compact touch-up gun holds only 125ml of paint, reducing waste on small panels and fine detail work. With 0.5mm and 0.8mm nozzles and 50 psi air pressure, it follows the article's recommended setup routine for precise control. View Product →
 Whichever model you choose, keep the pressure window data and the ten-minute sequence from this article near your workbench. Setup is a repeatable skill, and a consistent routine will deliver the same finish job after job.
Spray Gun Setup FAQ
What PSI should a spray gun be set at?
HVLP spray guns work best at 20-29 psi inlet pressure, LVLP guns at 10-25 psi, and conventional guns at 30-50 psi. Always set the pressure with the trigger pulled, because the reading drops when air starts flowing.
How do I know if paint is thinned enough to spray?
Use a Ford #4 viscosity cup. Most automotive paints spray well at a flow time of 20-25 seconds at 20°C. If the paint struggles to flow in a steady stream, add thinner in small increments.
Why is my spray gun spitting paint?
Spitting is usually caused by a loose fluid nozzle, a dirty air cap, low fluid in the cup, or air entering the fluid line. Clean the parts, tighten the nozzle, and refill the cup before adjusting the pressure.
How do I stop orange peel when spraying?
Orange peel appears when atomization is too coarse. Raise the pressure slightly, thin the material a little, and keep the gun at 6-8 inches from the surface. Test on cardboard until the film reads smooth.
What is the difference between HVLP and LVLP?
HVLP guns use high air volume at low pressure to reach transfer efficiency above 65%. LVLP guns use less air volume at an even lower inlet pressure, which makes them easier to run with small compressors.
How often should I clean my spray gun?
Clean the gun after every session. Flush the cup, the fluid passage, the nozzle, and the air cap with the correct solvent, then wipe and dry all parts. A clean gun is the cheapest guarantee of a repeatable setup.